Underwater Photography and Video for Beginners: Cameras, Light and Technique
Almost every diver eventually wants to bring home photos. Here's how to start simply, get better colours, and stay a responsible diver while you shoot.
On this page
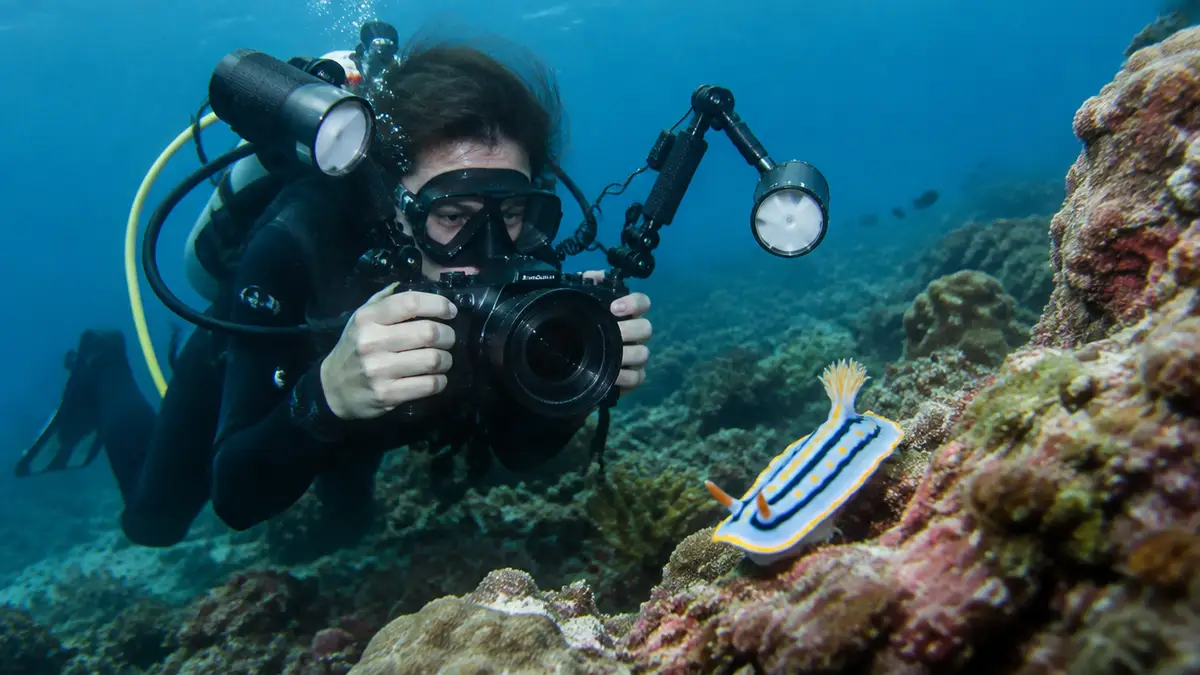
Most instructors recommend waiting until you have solid buoyancy control (typically 20–30 dives) before carrying a camera. A camera takes your attention away from your air, depth, buddy and the reef. Divers with cameras and poor buoyancy do a lot of reef damage.
Why underwater photos look blue and blurry
Colour loss
Water absorbs light, starting with red. By about 5 metres much of the red is gone; by 10–15 m, orange and yellow fade too, leaving everything blue-green. That's why reef photos without artificial light look dull, even when the reef looked colourful to your eyes. Your brain partly corrects for it; cameras don't.
Backscatter and contrast
Particles in the water reflect light back into the lens (backscatter), and every metre of water between you and your subject reduces contrast and sharpness.
The golden rule is to get close, then get closer. Less water between the lens and the subject means more colour, sharpness and contrast.
Camera options
| Option | Cost (approx.) | Pros | Cons |
|---|---|---|---|
| Action camera (with dive housing) | US$250–600 | Small, great video, wide angle | Weak in low light; limited stills control |
| Phone in a dive-rated housing | US$150–500 (housing) | Uses a camera you already have | Risk to your phone; depth limits; tricky controls |
| Waterproof compact ("tough" camera) | US$350–550 | Simple; waterproof to ~15 m without housing | Needs a housing for deeper dives |
| Advanced compact + housing | US$1,200–2,500 | Excellent macro, manual control, add strobes later | Bigger investment |
| Mirrorless/DSLR + housing | US$4,000–15,000+ | Best image quality | Heavy, expensive, complex |
For most beginners, an action camera or waterproof compact with a housing is a great start.
Lighting: getting the colours back
- Shoot shallow in sunlight: 3–10 m on a sunny day gives the best natural colour.
- Use red filters on action cameras for blue tropical water (not for artificial light).
- Video lights: continuous lights, great for video and close-up stills.
- Strobes (flashes): powerful bursts of light for stills. Position them to the sides, angled outwards slightly, to reduce backscatter.
- White balance: set a manual white balance on a white slate at depth, or shoot RAW and adjust later.
Composition tips
- Shoot upwards or at eye level, not down on the reef, for depth and blue-water backgrounds.
- Focus on the eyes of fish and animals.
- Fill the frame. Get close with wide angle rather than zooming.
- Be patient. Wait for animals to come to you instead of chasing them.
- Use the rule of thirds and look for negative space (open water) around your subject.
- For video: hold shots for 10+ seconds, move slowly, and avoid constant zooming and panning.
Shooting responsibly
- Never touch, move, or "position" animals for a photo
- Don't kneel, lie or hold onto coral; use a single finger on bare rock only if absolutely needed
- Limit flash on sensitive animals (such as seahorses) and follow local rules
- Don't block other divers' views for long periods
- Keep an eye on your air, depth, NDL and buddy
Read our ocean etiquette guide. Many dive sites now ban flash or gloves, especially in "macro" areas.
Caring for camera gear
- Check and lightly grease the housing O-ring before every dive, making sure there's no hair or sand on it.
- Test the housing without the camera in a rinse tank first.
- Rinse in fresh water after every dive, pressing all buttons.
- Use moisture-absorbing packs inside the housing in humid climates.
- Don't leave it in direct sun on the boat.
Learn more
Most agencies offer an Underwater Photographer / Digital Underwater Imaging specialty. It's a great way to learn with someone checking your buoyancy and technique. See specialty courses.
Editing your underwater photos
Even great underwater photos usually need some editing. Simple adjustments make a big difference:
- White balance: warm up blue images to bring back natural tones
- Contrast and clarity: water reduces contrast; add a little back
- Backscatter removal: use the spot-healing tool on floating particles
- Crop: tighten the composition and straighten horizons
- Don't overdo saturation. Natural-looking colours age better
Free mobile apps and desktop programs handle all of this. Shooting in RAW (if your camera supports it) gives you much more flexibility.
Frequently asked questions
What is the best camera for a beginner underwater photographer?
An action camera with a dive housing and red filter, or a waterproof compact camera in a housing, gives great results for a modest budget.
Why are my underwater photos blue?
Water absorbs red and orange light first. Shoot shallower, get closer, use a red filter in daylight or use video lights or strobes to restore colour.
Keep reading
How to Choose a Dive Mask: Fit Test, Types, Fogging and Prescription Lenses
Single or double lens, the 10-second fit test, stopping fog and prescription options.
Snorkels for Scuba Diving: Types, Do You Need One, and How to Choose
Classic, semi-dry or dry? Whether scuba divers need a snorkel and how to pick one.
Dive Fins Guide: Open Heel vs Full Foot, Blade Stiffness and Travel Fins
Open heel vs full foot, soft vs stiff blades, and the best fins for travel.